OnlySonoma
Member
Hey Everybody!
Take a look at this Sunday morning project!
BEFORE:
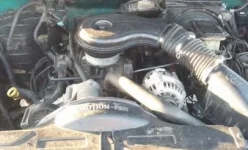
AFTER:
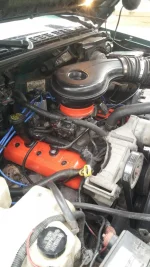
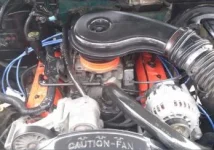
This took about 3 hours in total, but I was very meticulous with cleaning and could of been quicker.
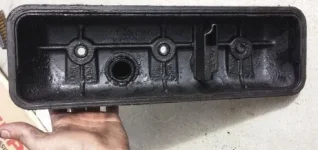
Removing the valve cover is very simple. By removing the 3 bolts from the middle of the cover it then comes free. You may need to temporarily move some of the wiring and or mounts so that you have space to snake them out. Always replace the gaskets when you remove your valve covers. I also cleaned any build-up that was on the inside of the valve cover. Take care when re-installing and tightening the valve cover bolts as they are most likely the originals and can be very brittle.
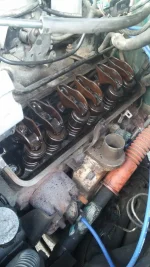
The Pictures do not do it justice.
To the untrained eye, the engine looks like new
Take a look at this Sunday morning project!
BEFORE:

AFTER:


This took about 3 hours in total, but I was very meticulous with cleaning and could of been quicker.
Removing the valve cover is very simple. By removing the 3 bolts from the middle of the cover it then comes free. You may need to temporarily move some of the wiring and or mounts so that you have space to snake them out. Always replace the gaskets when you remove your valve covers. I also cleaned any build-up that was on the inside of the valve cover. Take care when re-installing and tightening the valve cover bolts as they are most likely the originals and can be very brittle.


The Pictures do not do it justice.
To the untrained eye, the engine looks like new

